How to organize children’s art when the fridge runs out of space
· Editorial team newyorknewsdaily7.com
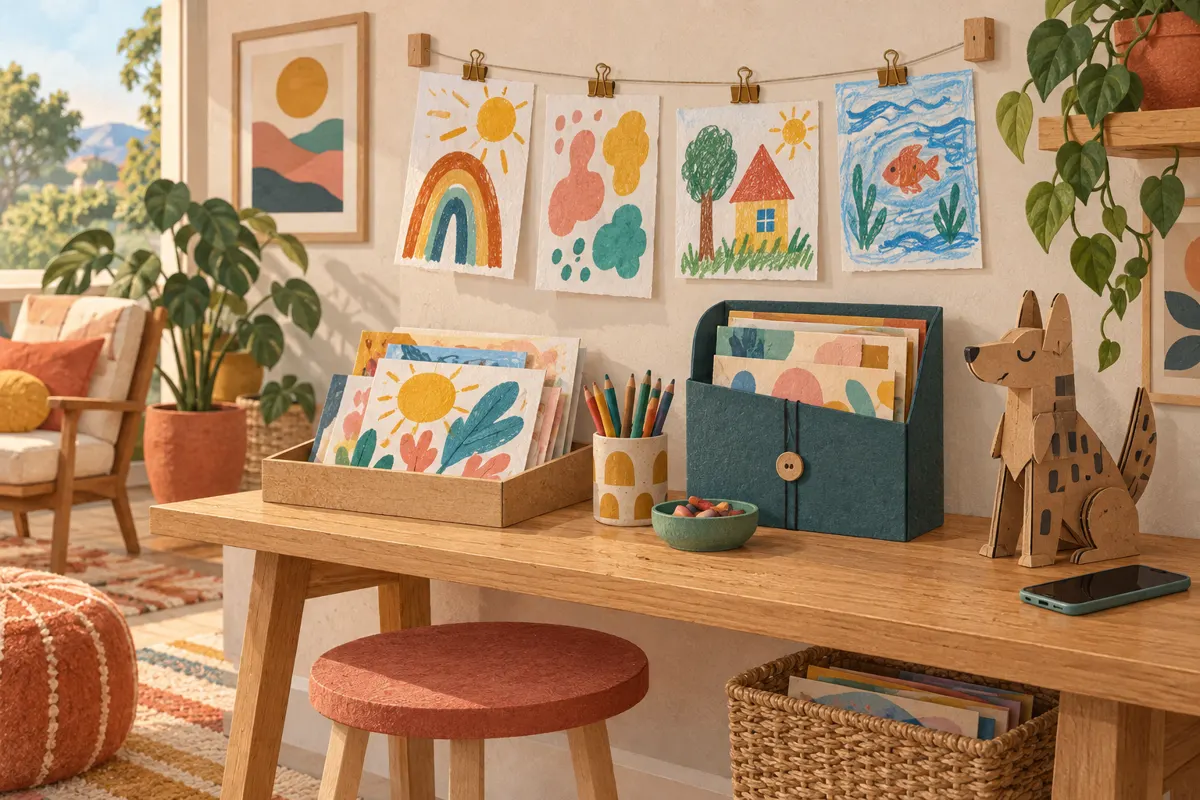
Give children’s artwork three places to go: a temporary holding box, a rotating display, and a small archive for favorites. Photograph oversized or bulky projects before deciding whether to keep them. Let children help choose what stays, and leave uncertain pieces for a later decision. This keeps their work easy to enjoy without making the refrigerator responsible for every drawing.
Start with one place for incoming artwork
Choose a shallow box, large folder, or tray that fits the paper your child usually brings home. Put it somewhere convenient, so drawings do not accumulate in backpacks or across the kitchen counter. If you have several children, give each a labeled folder inside the same box.
When a project arrives, invite your child to tell you about it. Ask whether they want it displayed, saved for now, or let go. An uncertain answer can mean “keep temporarily”; there is no need to settle every decision at the door. Let paint and glue dry before stacking work.
Our proposed routine is to check this box when it starts getting full. Move display choices out, gather possible keepsakes together, and set aside anything that needs a photograph.
Give the display a clear boundary
Choose one manageable display area: a bulletin board, a row of clips, or a few frames that are easy to open. A child’s bedroom or a hallway can work just as well as the kitchen. The useful feature is easy swapping, so changing the display does not become another project.
- Invite each child to choose a piece for the available space.
- When a new favorite arrives, choose together which displayed piece will come down.
- Move the outgoing artwork to the holding box, archive, or photography pile.
- Keep the display within its existing boundary instead of adding more space whenever it fills.
Taking something down does not have to mean throwing it away. Explain where it is going next, especially when your child still cares about it.
Choose keepsakes with your child
At the end of a school year, or whenever the holding box becomes crowded, spread the artwork across a clear surface. Sort it into display, store, photograph, and decide later. Keep the session manageable by working through one child’s collection at a time.
- Which piece are you most proud of?
- Which one has a story you want to remember?
- Is there an early drawing or a first attempt you would like to keep?
- If several pictures are similar, which is your favorite?
Avoid making neatness the only reason to save something. An uneven drawing may matter more to your child than a polished classroom project. Put difficult choices back in the temporary folder and revisit them later. Agree on what can leave the collection before disposing of it.
Photograph projects that are hard to store
Large paintings, cardboard constructions, and sculptures can be recorded in a digital album without all becoming permanent storage items. A photo also gives you a way to remember a project after its time on display ends.
- Place the artwork against a plain background in even light.
- Photograph paper pieces straight on, with the whole page visible.
- Take additional angles for a sculpture or construction.
- Record the child’s name, date, and any explanation they want remembered.
- Save the images in an album for that child and year, then back them up.
Check that the images are clear and saved before letting the original go. For a particularly meaningful project, keeping both the object and its photograph is an option.
Keep a small archive organized by year
Use a large portfolio or accordion folder for flat artwork and a separate box for selected three-dimensional pieces. Label each section with the child’s name and calendar year or school year. Choose one dating system and use it consistently.
Write the date and a short note on the back of saved drawings. Store flat pieces without folding them where possible, and keep bulky objects from pressing against paper. Choose an accessible storage spot so the collection can be enjoyed.
Our proposal is to let the chosen folder or box set the storage limit. When it fills, review the collection together before adding another container. The aim is a collection of meaningful favorites that you and your child can easily revisit.