How to scan a paper document with your phone so the text stays readable
· Editorial team newyorknewsdaily7.com
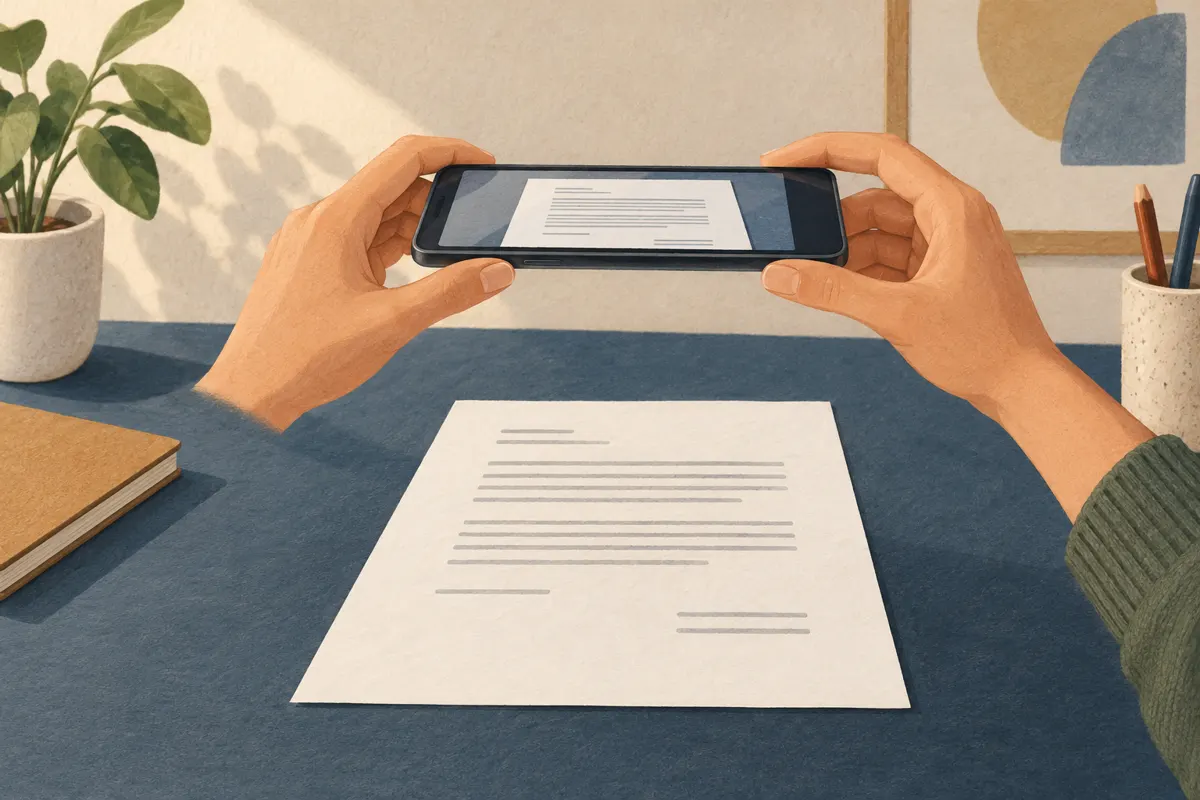
For a readable phone scan, place the paper flat in even light, hold your phone directly above it and capture all four corners. Check the smallest text before saving, then combine related pages into one clearly named PDF. A careful setup usually matters more than trying to fix a poor image afterward.
Set up the page and lighting
Put the document on a flat, uncluttered surface. Choose a background that contrasts with the paper so its edges are easy to see. Smooth out folds and curled corners, and keep fingers away from the printed area. If the document is stapled or bound, avoid forcing it flat in a way that could damage it.
Use light that reaches the whole page evenly. Light from beside a window can work well, provided it does not create a bright patch or a strong shadow. Move the paper or lamp until your phone and hands stop casting shadows over the text. For glossy paper, change the lighting angle to remove reflections.
- Wipe the camera lens with a clean, soft cloth.
- Clear objects away from the page edges.
- Check that no reflection covers a word, number or signature.
Open a document scanner on your phone
Use a document-scanning feature when you want tools for cropping the page and collecting multiple scans. On an iPhone, Apple provides scanning in Notes and Files. On Android, Google Drive can scan documents and save them as PDFs. Choose the route that fits where you want to keep the finished file.
- On iPhone using Files: open Files, tap More, then Scan Documents. Capture the page, adjust its corners if needed and tap Keep Scan. Add any remaining pages, tap Done, choose a location and save.
- On iPhone using Notes: open or create a note, tap the Attachment button and choose Scan Documents. Capture and keep each page, then tap Done.
- On Android using Google Drive: open Drive and tap Camera. Capture the document, review the scan and add further pages if needed. Tap Done, choose a filename, select .pdf and save to your chosen folder.
Keep the phone level and include every edge
Hold the phone directly above the center of the paper, with the camera facing straight down. A tilted phone makes the page look narrower at one end and can leave some text less clear. Move the phone far enough away to include every corner, while letting the document fill most of the preview.
Pause before capturing so the phone is steady and the preview looks sharp. Automatic capture is available in both Apple's scanner and Google Drive. If it captures before you are ready, use manual capture. Afterward, inspect the crop: automatic edge detection can miss a pale border or cut too close to writing.
Adjust the crop to follow the actual paper edges. Keep page numbers, handwritten notes and signatures inside it. For a document with several pages, scan each page separately and add it to the same document.
Check the text before accepting the scan
Enlarge the scanned page and inspect the smallest print, especially near the corners and bottom edge. Check details where one unclear character could matter: dates, amounts, reference numbers and names. A page that looks tidy as a thumbnail may still contain blurred words.
- Blurred letters: steady the phone, check focus and capture again.
- Dark areas: reposition the light or move your hands out of its path.
- Missing text: widen the crop, or retake the scan if the text was outside the camera frame.
- Faint marks: compare the original-looking scan with available filters before choosing one.
Google Drive offers color and grayscale adjustments. Use them only when they improve readability. Keep color when colored annotations or highlights carry meaning, and check that any filter preserves faint handwriting.
Save a named PDF and reopen it
Save related pages together as a PDF where that option is available. Give the file a descriptive name, such as Apartment-lease-signed.pdf or Warranty-kitchen-mixer.pdf. Include a relevant date when it helps distinguish versions, and choose a folder you can find again.
Open the saved file before sending it. Confirm that every page is present, upright, in the correct order and readable when enlarged. Check the recipient's file-format requirements, then attach the version you just reviewed. Keep the paper original if you still need it.